

Hi, SSSC-Growers!
Today we will focus with our SSSC Do’s and Dont’s on the first half of the growth period or vegetative phase (called veg. in short). We take a closer look on the time period when the plant grows from a small seedling and develops into a full grown plant
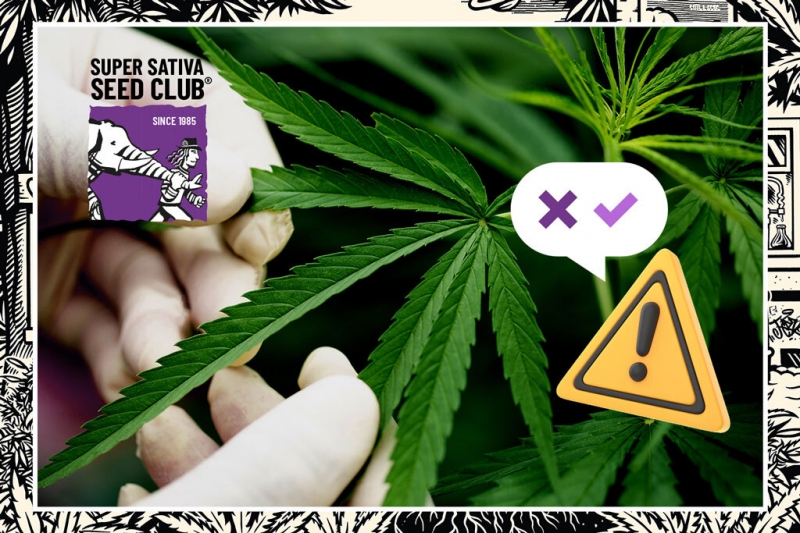
The SSSC Do’s and Don’ts Nr.2:
Do’s and Don’ts for the first half of veg.:
DO:
- Check your young plants EVERY day
- Add Mycorrhiza for better root growth
- Repot in time
DON’T:
- Hang your grow-lights to close
- Overwater your plants
- Let the small plant get root-bound
- Overfeed your plants
Check your plants EVERY day:
At the early stages of the veg., when the seedling gets bigger every day and develops its first set of true leaves and grows into a small plant, the young cannabis plant is still fragile and sensitive to infections and pests. Therefore it is VERY IMPORTANT to CHECK your small plants EVERY DAY! The check-up does not have to take long, a quick look at every plant will do. The small plants should have a nice dark green color without any signs of yellowing and stand firm under your grow-lights. The leaf-surface should be free of any spots (brown or black spots could sign a deficiency) or traces (white little spots or small lines indicate a pest has infected your plants and eats at the leaves). If the stem of a plant starts to bend over or the plant lets its leaves hang down, it mostly means the growing-medium (e.g soil) is too dry and the plant needs watering right away. In order to avoid being surprised by a dried out plant or a sudden infection, its best to do a quick daily check of your plants. After appr. 7 days you should also start to check the bottom of your pots every day, if any white root-tips start to grow out, the plants need to be repotted asap (see below).
Add Mycorrhiza for better root growth:
BIGGER ROOTS BRING BIGGER FRUITS! This famous english saying is especially true for cannabis plants grown indoors in containers (e.g. pots). The plant can only grow healthy and strong and develop lots of buds, if she is supported by healthy and strong roots. Since the size of your container limits the size of the root-ball and therefore the size of your plant, it is VERY IMPORTANT to MAXIMIZE the GROWTH of your ROOTS BY ADDING MYCORRHIZA to your soil. The easiest moment to do this, is when you repot (=transplant) the plant into a bigger pot. Simply add Mycorrhiza powder (e.g Mycotrex from Biotabs) to the soil you use for the bigger pot, into which the plants get repotted into. The Mycorrhiza are a special kind of fungi (=mushrooms), which are SYMBIOTIC WITH THE ROOTS and supply them with extra nutrients. The root-ball grows bigger and can take up the nutrients more effective (UP TO 700% MORE EFFECTIVE!) when it is aided by the Mycorrhiza-fungi!
Repot your plants into their final container in time:
Most growers start their seedlings in small containers (e.g. 0,25 liter pots) out of necessity, since they simply need less space that way and can be placed under one single grow light easier.
The ideal way would be, to plant the seeds directly into their final container size (e.g 11 or 25 liter pots). A plant grown from seed develops a big taproot right under the stem, which reaches down into the soil and looks like a white cone. This immense root stops growing immediately as soon as it reaches the bottom of a container. Therefore seedlings started in small containers will only have a small taproot, while seedlings started in a big container (or outdoors in the full ground) will have a big taproot. We advise to start your seeds in the biggest container-size you are able to, ideally directly in the final pot used to grow the plant until harvest.
If you belong to the majority of growers, who have to TRANSPLANT (=REPOT) their small cannabis plants INTO A BIGGER POT, you have to DO SO IN TIME!
Cannabis plants are deep-rooting plants, which means the root tries to grow straight down and reach into the ground as far as it can. Once the root reaches an obstacle (e.g the bottom of the pot she grows in) and cannot grow further down, it grows more sidewards and tries to grow around the obstacle. If the root-ball gets too big for the small container and grows into all walls and the bottom, the plant will get root-bound. This means she will slow down and eventually stop growing at all. In order to avoid this, you have to REPOT THE SMALL PLANT AS SOON AS YOU SEE WHITE ROOT-TIPS GROWING OUT OF THE BOTTOM OF YOUR SMALL CONTAINER!
Most of the time it will take 10 to 14 days for the roots to grow out of the bottom of the small container, but it can happen quicker as well. Therefore it is very important to also check the bottom of your pots in your daily plant check, as we advise above.
DO NOT hang your grow lights too close to the plants:
Young plants get burned or dry out very easy, therefore it is VERY IMPORTANT to KEEP YOUR GROW LIGHTS AT THE RECOMMENDED DISTANCE above your plants.
Metal Halide (=MH) and High-Pressure-Sodium (=HPS) lamps get VERY HOT and need to be kept at least 40 cm (=400 Watt bulb) to 60 cm (=600 Watt bulb) away from the top of growing cannabis plants. For very young plants we advise to keep MH- and HPS-lamps at least 100 cm above the plants. The young seedlings do not need that much light, but cannot withstand heat very well, out of this reason a safe distance of 100 cm works well. When the plants have reached appr. 15-20 cm in size and were repotted into their final container you can lower the MH- or HPS-lamps to the recommended minimum distance from above.
Modern LED-grow-lamps (e.g. SANlight from Austria) are running very cool and could be hung right above the plants without running the risk of burning the plants or drying them out. The light intensity of the LED-grow-lamps is so high though, that you MUST KEEP A MINIMUM DISTANCE in order to ENSURE NORMAL PLANT GROWTH. If the LED-fixture is too close, the plant will stay very short and grow node above node without any internode distance. It will look like a dwarf plant and show overal stunted development. In order to avoid this you MUST KEEP LED-GROW-LIGHTS AT LEAST 30 cm AWAY from the top of your plants. Depending on the wattage of a LED-fixture, some LED-producers even recommend a bigger minimum distance for any particular lamp. Therefore its best to CHECK THE INSTRUCTION MANUAL of your LED-grow-light and KEEP the MINIMUM DISTANCE recommended there.
DO NOT overwater your plants:
Cannabis plants have evolved into different strains and varieties, in order to be able to grow on almost any ground and in all environmental circumstances (from hot to cold temps and from humid to dry air-humidity). The only thing they ALL do NOT LIKE is WET FEET!
This means the roots of cannabis need oxygen to grow and cannot survive when they are constantly in water. Therefore it is VERY IMPORTANT to NOT OVERWATER YOUR PLANTS!
When you grow on soil you should only give water every 2-3 days and then enough to make the whole soil moist, but not wet. Once the water drains out from the bottom of your pot and starts building up in the saucer under it, it is enough water. Make sure the excess water does not keep standing in the saucer all the time, then your roots get suffocated and your plant will develop grey and brittle spots on the leaves.
DO NOT overfeed your plants:
The easiest way to see that your plants are doing well and are growing healthy is the color of the plant. The stem and the leaves should always have a nice dark-green color without any purple coloration of the stem or any yellowing of the leaves. If the leaves are light green or start yellowing the plant is underfed and needs more nutrients.
Most producers of nutrients for cannabis recommend on their bottles the highest dose possible, a plant can withstand without being overfed. This means, if you follow those recommendations the plants always get the MAXIMUM amount of nutrients they can handle and are constantly on the verge of being overfed. Yellow leaf-tips that later turn brown and die are the first sign of over-feeding.
In order to avoid this, we recommend TO ALWAYS START WITH ONLY A HALF-DOSE OF THE PRODUCER RECOMMENDED AMOUNT OF NUTRIENTS!
You can later always increase the amount of nutrients you give with every watering, but you can never take out excess nutrients of the plant again, once you put them in there! Start low and work your way up is the best way to go.
We hope our tips will again help you to grow your SSSC-seeds to the MAXIMUM and we will continue with the second half of veg. in our following blog.
(882) (0)