

Hi, SSSC-Growers!
With this article we will start our NEW SERIES of useful tips and tricks for the SSSC-grower. Here we will explain important tasks to DO and the best things to avoid (=DON’T) for every stage of the development of a cannabis plant.
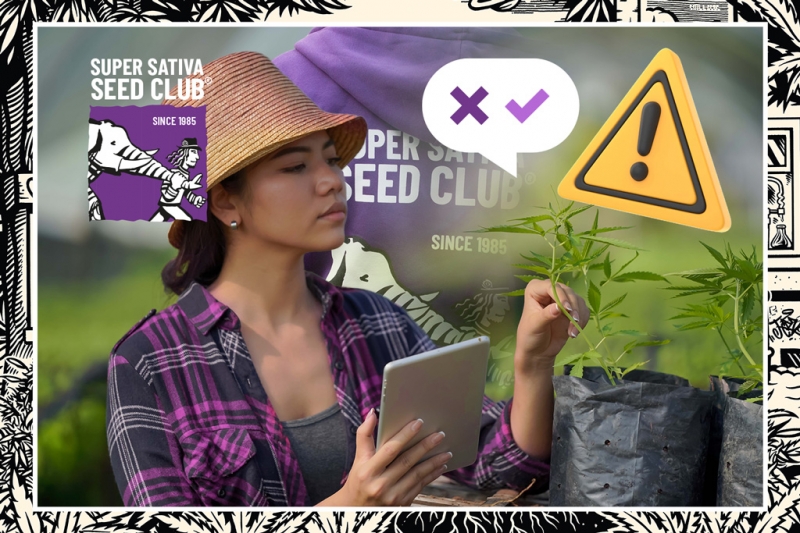
Welcome to our Super Sativa Seed Club Do’s and Don’ts!
In general you can divide the growth-cycle of a cannabis plant into two stages or phases. The growth phase or vegetative phase (called veg. in short) and the flowering phase (called flowering in short). During veg. the plant grows in size and develops enough sidebranching and leaves in order to support the photosynthesis she needs to do during flowering.
Cannabis is a daylight-sensitive plant, which means the flowering phase is induced by a shortening of the time-period she receives light.
Outdoors this happens naturally during the different seasons. In Europe the veg. goes from beginning of April (=the time when you can plant them outside safe, without having frost on the ground) to the 21st of June (=longest day of the year). After that date the daily time-period of daylight starts to get shorter and the cannabis plant slowly begins to flower.
Indoors a plant has to receive 18 to 24 hours of light in order to stay in veg.. This is achieved by using a timer in the supply for the grow-lamps over your plants. Here flowering can be very easily induced by simply switching the timer to 12/12 hours of light/darkness. This mimics the shortening of daylight in nature and the plant switches into flowering mode right away.
Depending on the genetics of your seeds, a cannabis plant has to flower for 7 to 16 weeks in order to get ripe and be ready to harvest. Indica plants tend to have shorter flowering times (appr. 7-10 weeks) while Sativa plants tend to have longer flowering times (10-16 or more weeks). Since most cannabis strains nowadays are hybrids (=a mix of Indica and Sativa), the flowering time is mostly somewhere between 9 and 12 weeks.
Today we will concentrate with our SSSC Do’s and Dont’s on the beginning of veg.. At the time period right after the germination of the seed (see last Blog-Article) when the plant grows into a small seedling.
The SSSC Do’s and Don’ts Nr.1:
Do’s and Don’ts for the beginning of veg. (=the start into life for a seedling):
DO:
- Maintain a warm and humid grow-environment
- Keep the soil moist at all times
- Handle the stem with care
- Avoid strangulation of the seedling
DON’T:
- Let the soil dry out
- Have water around the stem
- Replant an Autoflowering seedling
Maintain a warm and humid grow-environment:
The ideal temperature for a young seedling is 21 to 25 degrees Celsius (=70-80 degrees Fahrenheit), which is a warm room temperature. At colder temps (especially below 15 degrees Celsius (=60 degrees F)) plant growth will slow down and eventually stop. At warmer temps (especially above 28 degrees Celsius (= 83 degrees F)) the plant will have stress from the heat and plant growth will also slow down and eventually stop. Therefore the temperature around your plants, e.g. in your grow tent or grow room, which is called the grow environment, should be kept in the range of 21 to 25 degrees Celsius.
The ideal humidity for the air around young seedlings is between 50% to 65% of relative humidity. If the air-humidity is very low (=below 40%), you run the risk of plants drying out very fast. If air-humidity is very high (=above 70%), you have a higher risk of getting mold. Since we want to avoid both those issues, we recommend to maintain an air-humidity of 60% during the beginning of veg. and reduce it to 50% later in veg.!
Keep the soil moist at all times:
It is very important to keep the soil around a germinating seed moist at all times! Once a seed starts to germinate and opens and grows its first tap-root, it needs a moist medium (e.g. soil, jiffy, rockwool cube) to grow into. If the medium, in our case soil, dries out, even for only a short period of time, the seedling will stop to grow and die off. Therefore you should NEVER LET THE SOIL AROUND A SEEDLING DRY OUT!
Handle the stem of a young seedling with care:
The thin stem of a small seedling is fragile and has to be handled with care all the time. You should avoid bending it too much or pinching it! Once the growth-tip on top of the stem is pinched off, the small seedling will not continue to grow!
Keep the stem dry:
Every time when the growing-medium (e.g. soil, jiffy, rockwool-cube) of a small seedling is watered, there is a chance that some water collects right around the stem. For example, in soil, its possible a small groove or ditch has built around the stem. The water will run into the ditch and collect in a little puddle around the stem and stay there for a while until it evaporates. During the time the stem is standing in the water, it is very vulnerable for bacteria and fungi to infect the soft tissue of the wet stem. When this happens the stem will get a small black ring right above the soil and then gets foul and then the seedling dies off. Therefore it is VERY IMPORTANT TO KEEP THE STEM DRY, especially right after watering the plants. An easy way to avoid a build-up of water around the stem, is a drainage ring of pushed down soil, all around the sidewall of the pot (see in last blog-article: germination guide).
Avoid strangulation of the seedling:
Sometimes when a seedling comes out of the soil, it still has the seed-shell on its ‚head‘ (=the seed-shell is still wrapped around the first set of leaves, the so called ‚cotyledons‘). Normally it falls off by itself, but sometimes you have to carefully help and take it off with your finger nails or a pair of tweezers. Be careful to NOT clip off the seedling accidentally when you do this!
The seed-shell of a cannabis seed has an inner lining, which is a tiny nutrient-sac that feeds the small seedling when it germinates. This inner lining sometimes gets tangled around the stem of the small seedling after the shell has fallen off. This little ‚skin‘ MUST be taken off the stem right away! Once it dries up, it gets hard and tough and can strangulate the seedling around the stem. In order to avoid this, the skin must be taken off as soon as possible! (see in video)
DO NOT replant an Autoflowering seedling:
In our germination guide (see last blog-article) we explained different ways on how to germinate seeds, which all had a common feature: the seed is started in a small-pot and later when it has grown into a small seedling and the roots get too big for the small pot, it is transplanted into a bigger pot where it can finish its growth-cycle.
This COMMON WAY of starting seeds is WRONG for AUTOFLOWERING SEEDS!
It is VERY IMPORTANT to NOT DISTURB the ROOT development of young autoflowering plants, which happens when the roots grow against the walls of a small pot before it is transplanted. The plant will then stop its growth and switch to flowering and the whole autoflowering plant will then stay small and only harvest little, even when it is finished in a big container.
Therefore you should NEVER REPLANT AN AUTOFLOWERING SEEDLING, it MUST BE STARTED IN A BIG POT, where it can stay for the rest of its growth-cycle until its harvested. This will ensure the roots can grow undisturbed to the maximum size possible in the particular container and the autoflowering-plant will then be able to reach the maximum size possible in this pot.
We hope our tips will help you to grow your SSSC-seeds to the MAXIMUM and we will continue with the later stages of veg. in our following article.
(869) (0)